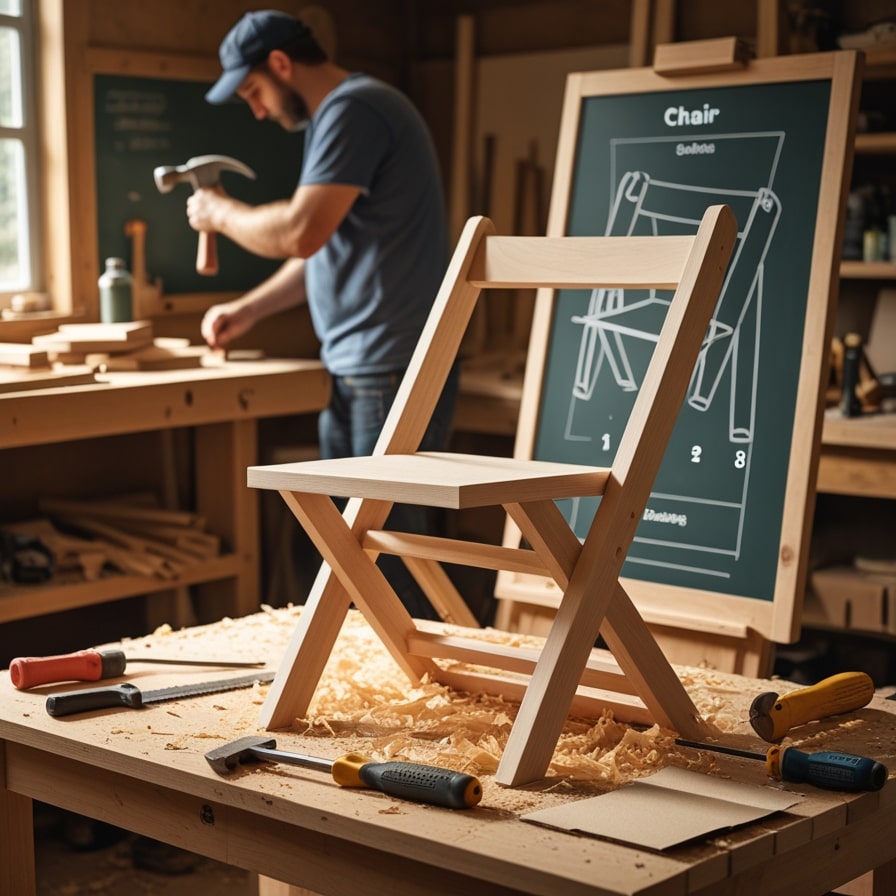
Building your own furniture can be a rewarding project, and creating a folding chair is no exception.
Whether you’re looking to make extra seating for your home, workshop, or outdoor space, this project can be completed with basic tools and materials.
In this tutorial, we’ll guide you through each step of building a folding chair that’s sturdy, functional, and stylish.
This project is beginner-friendly, so even if you don’t have much experience with woodworking, you can follow along and build your own folding chair. Let’s get started!
Materials You Will Need
Here’s a list of materials required for the folding chair project. These are basic items, and they can be found at your local hardware store.
- Wooden planks (2×4 or 1×6 inches, depending on the design)
- Wood screws (2 to 3 inches)
- Wood glue
- Sandpaper or power sander
- Measuring tape
- Pencil for marking
- Drill with drill bits and screwdriver bit
- Hinges (strong, sturdy hinges that can support weight)
- Paint or wood finish (optional)
- Saw (handsaw or circular saw)
Having these materials ready will ensure the project goes smoothly. The next steps will walk you through how to measure, cut, and assemble your folding chair.
Step 1: Measure and Plan Your Chair
Before cutting any wood, it’s important to plan your folding chair design. Here’s a simple way to break down the dimensions:
- Seat dimensions: A standard seat for a folding chair is around 16 to 18 inches from the ground and about 15 to 18 inches wide.
- Backrest: The backrest should be about 16 inches tall from the seat and angled slightly for comfort (around 90-100 degrees).
- Legs: The front legs should be about 16 to 18 inches tall, and the back legs should be slightly longer, around 20 inches.
Sketch the design on paper, marking where you’ll make cuts and how the pieces will fit together. This plan will guide you through the project.
Step 2: Cut the Wood to Size
Using the measurements from Step 1, mark your wooden planks and carefully cut them to size.
- Seat slats: Cut four or five slats for the seat part of the chair. These will be placed side by side to form the base of the chair.
- Legs: Cut four pieces for the legs—two for the front legs (the shorter ones) and two for the back legs (the longer ones).
- Backrest slats: Cut two or three pieces for the backrest, depending on how high you want it to be.
Tip: If you don’t have access to a power saw, a handsaw will work, but be sure to make straight cuts for a better fit.
Step 3: Sand the Edges
After cutting the pieces, use sandpaper or a power sander to smooth out any rough edges. This step is crucial to avoid splinters and ensure a comfortable finish.
- Sand the edges of the legs, seat slats, and backrest slats to make sure they’re smooth.
- If you’re using a power sander, work your way through coarse, medium, and fine grits to get a nice finish.
Step 4: Assemble the Seat and Legs
It’s time to put your chair together! Start with the seat and legs:
- Attach the seat slats: Lay the slats side by side to form the seat. Use wood glue to hold them in place, and then secure them with screws for added durability.
- Attach the front legs: Position the front legs at a 90-degree angle to the seat. Use screws and wood glue to attach them securely.
- Attach the back legs: The back legs should be angled slightly back, around 5 to 10 degrees, for added comfort. Attach them using screws and glue.
Ensure everything is square and aligned before tightening the screws. It may be helpful to use clamps to hold the pieces in place while you secure them.
Step 5: Add the Backrest
Now that the seat and legs are assembled, it’s time to add the backrest.
- Position the backrest slats: Place the backrest slats on top of the back legs, making sure the angle is comfortable for sitting. You can use two or three slats, depending on your preference.
- Attach the slats: Use wood screws to attach the backrest slats to the back legs, making sure they are securely fastened.
At this stage, the main structure of your folding chair should be taking shape.
Step 6: Install the Hinges
To make your chair foldable, install hinges at the back of the seat and backrest. The hinges will allow you to fold the chair flat when it’s not in use, saving space in your workshop, home, or outdoor area.
- Attach the hinges: Place the hinges on the back of the chair, securing them to the backrest and seat. Use screws to fasten them tightly.
- Test the folding mechanism: Once the hinges are attached, test the folding mechanism to make sure it works smoothly. The chair should fold and unfold without resistance.
Tip: You can also add a small latch to keep the chair in a locked position when it’s unfolded.
Step 7: Paint or Finish Your Chair (Optional)
For a more polished look, you can paint or stain your folding chair.
- Paint: If you’re painting, use a primer first to ensure the paint adheres well. After the primer, apply two coats of your preferred color, allowing each coat to dry before applying the next.
- Wood finish: For a more natural look, apply a wood stain or clear finish to enhance the grain of the wood. Allow it to dry completely.
Step 8: Test Your Folding Chair
Now that everything is assembled and finished, it’s time to test the chair!
- Check stability: Sit on the chair and ensure it is stable. If it wobbles, check the screws and adjust them as necessary.
- Test folding mechanism: Fold and unfold the chair a few times to make sure the hinges are functioning properly.
Tip: If you notice any issues, such as wobbly legs or uneven seat slats, make the necessary adjustments to ensure a stable and comfortable chair.
Conclusion
Building a folding chair with basic tools is a fun and rewarding project, perfect for beginners looking to improve their woodworking skills.
With a few simple steps, you can create a practical, sturdy chair that’s both functional and space-saving.
Whether you need extra seating for guests or a portable chair for your workshop, this DIY folding chair will serve you well.
Customization: Once you’ve mastered the basic design, feel free to customize the chair. You can adjust the seat height, add armrests, or even upholster the seat for extra comfort.
Happy building, and enjoy your new folding chair!