The finishing process is crucial in woodworking, as it enhances the beauty of the wood and ensures its longevity.
Among the most popular finishes are varnish and oil, which provide protection while highlighting the natural grain of the wood.
In this guide, we will explore the best practices for applying these finishes effectively.
Why Finishing is Important
Applying a finish to wood serves several purposes:
- Protection: Shields the wood from moisture, UV rays, and wear.
- Aesthetic Appeal: Enhances the color, grain, and overall appearance.
- Durability: Extends the useful life of your wooden creations.
Let’s dive into the step-by-step process for applying varnish and oil to wood.
Materials and Tools You’ll Need
Before you begin, gather the following:
- Varnish or Wood Oil
- Sandpaper (grit ranging from 120 to 320)
- Lint-Free Cloths or Brushes
- Tack Cloth
- Stirring Stick
- Masking Tape (optional for edges)
- Gloves and Safety Gear
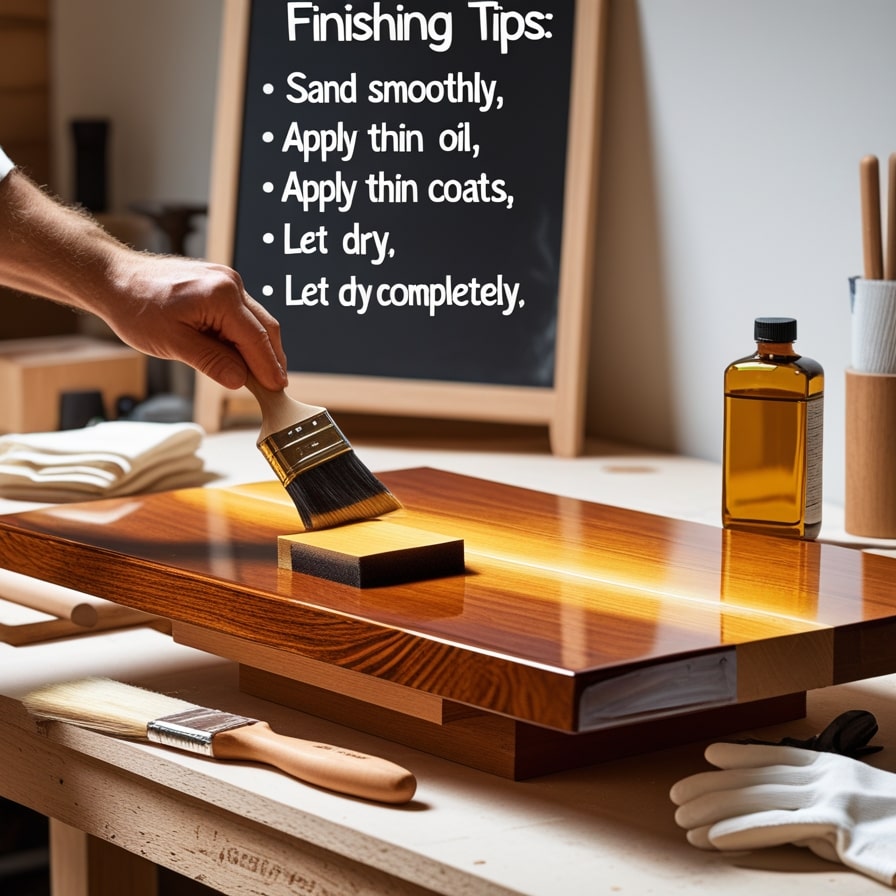
How to Apply Varnish
Varnish is a durable, glossy finish that provides excellent protection.
Step 1: Prepare the Surface
- Sand the Wood: Use 120-grit sandpaper to smooth the surface and remove imperfections. Gradually move to finer grits (220-320).
- Clean the Surface: Remove all dust using a tack cloth to ensure a clean finish.
Step 2: Apply the First Coat
- Stir the Varnish: Gently stir (don’t shake) to avoid air bubbles.
- Apply with a Brush or Cloth: Use a high-quality brush or lint-free cloth to apply a thin, even coat along the grain.
- Let It Dry: Allow the varnish to dry completely (check the product label for drying times).
Step 3: Sand Between Coats
- Light Sanding: Use fine-grit sandpaper (320) to lightly sand the surface, ensuring a smooth finish.
- Clean Again: Remove sanding dust with a tack cloth.
Step 4: Apply Additional Coats
- Repeat the Process: Apply 2-3 coats of varnish for optimal protection, sanding lightly between coats.
- Final Drying: Let the final coat cure for at least 24-48 hours before using the item.
How to Apply Wood Oil
Wood oils, such as linseed or tung oil, penetrate the wood to enhance its natural beauty.
Step 1: Prepare the Wood
- Sand the Surface: Follow the same sanding process as for varnish.
- Clean Thoroughly: Ensure no dust or debris remains.
Step 2: Apply the Oil
- Pour Oil Onto the Surface: Pour a small amount of oil directly onto the wood.
- Rub In with a Cloth: Use a lint-free cloth to spread the oil evenly, working it into the grain.
Step 3: Let It Soak
- Allow Absorption: Let the oil sit for 15-30 minutes to soak into the wood.
- Wipe Excess: Remove any excess oil with a clean cloth.
Step 4: Repeat the Process
- Apply Multiple Coats: Apply 2-3 coats, allowing each to dry thoroughly (typically 24 hours).
- Buff the Surface: After the final coat, buff the surface with a soft cloth for a subtle sheen.
Tips for a Professional Finish
- Work in a Dust-Free Environment: Dust can ruin the smoothness of your finish.
- Use Thin Coats: Multiple thin coats are better than one thick coat.
- Test on Scrap Wood: Always test your finish on a scrap piece to see the results before applying it to your project.
- Maintain Your Tools: Clean brushes and cloths immediately after use to prevent damage.
Conclusion
Mastering the application of varnish and oil is essential for any woodworking enthusiast. These finishes not only protect your projects but also enhance their natural beauty.
By following the steps outlined above and practicing patience, you can achieve a professional-quality finish that will keep your wooden pieces looking stunning for years to come.