Organizing your workshop can greatly enhance productivity and safety. Whether you have a small home workshop or a larger space, creating a tool organizer is a simple yet highly effective way to keep your tools in place and within easy reach.
In this DIY guide, we’ll walk you through the process of creating a tool organizer using wood, making sure it’s suitable for beginners.
By the end of this guide, you’ll have a neat, practical tool organizer that will help streamline your work area.
Materials You Will Need
Before starting, gather the following materials. These are common items you’ll find at most hardware stores and are beginner-friendly:
- Wooden planks (1×6 or 1×8 inches)
- Wood screws (1.5 to 2 inches)
- Wood glue
- Measuring tape
- Saw (a handsaw or circular saw will work)
- Drill with a screwdriver bit
- Sandpaper or a power sander
- Paint or wood finish (optional for aesthetic appeal)
- Pencil for marking measurements
- Level to ensure straight lines
These materials will help you build a solid and sturdy tool organizer that will serve your workshop for years.
Step 1: Measure and Plan Your Organizer
Before cutting any wood, measure the space where you plan to install or place the organizer.
- Determine the height, width, and depth of your organizer to fit your tools.
- Decide how many sections or shelves you want to create, depending on the tools you plan to store (e.g., screwdrivers, pliers, hammers, etc.).
For instance, if you’re organizing hand tools like pliers and screwdrivers, you might want to design the organizer with vertical compartments. If you have bulkier tools, a shelf-style organizer might work best.
Tip: Draw a rough sketch on paper to visualize the layout. This will help you stay on track while cutting and assembling the wood pieces.
Step 2: Cut the Wood to Size
Using the measurements from Step 1, mark the wood planks accordingly and cut them to size.
- For the side pieces, you’ll need two long planks (these will be the height of your organizer).
- The shelves should be cut according to the desired width and depth.
- If you’re building multiple sections, you’ll need additional pieces to create dividers between the tools.
Make sure your cuts are straight and clean, especially if you’re using a handsaw. You can also use a miter saw for more precision.
Tip: Take your time to measure and double-check before cutting to avoid mistakes.
Step 3: Sand the Edges
Once all the pieces are cut, use sandpaper to smooth any rough edges. This is crucial to avoid splinters or sharp edges that could cause injury.
- Sand the surface of each piece, making them smooth and pleasant to touch.
- If you want to add a finish or paint later, sanding will help the material absorb the paint more evenly.
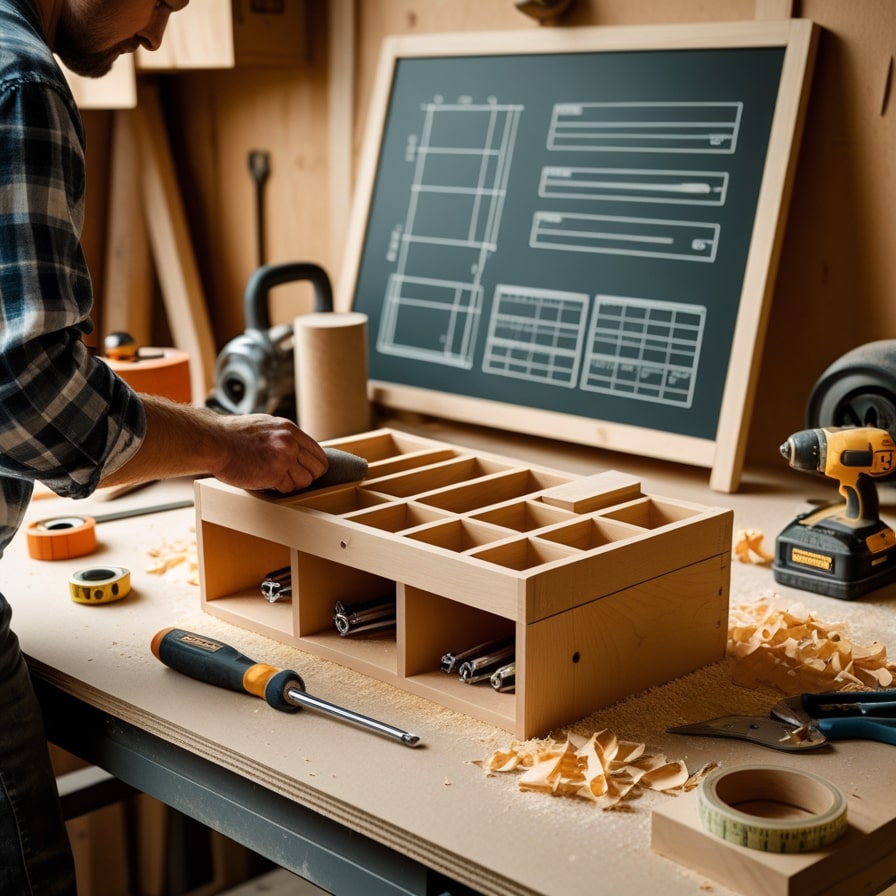
Step 4: Assemble the Organizer
Now that your pieces are cut and sanded, it’s time to start assembling the organizer.
- Attach the side panels to the shelves. Begin by placing the two vertical side panels parallel to each other. Attach the horizontal shelves at your desired height using wood screws. Drill pilot holes first to prevent splitting.
- Add dividers (if desired). If you want separate sections for different tools, now is the time to add dividers. Measure and cut additional wood pieces, then attach them to the sides of the organizer to create smaller compartments.
- Secure everything tightly. Ensure that all parts are attached securely with screws. If necessary, reinforce the joints with wood glue for extra stability.
Tip: Use a level to make sure everything is straight as you assemble. This will prevent your organizer from looking crooked.
Step 5: Paint or Finish Your Organizer (Optional)
This step is optional, but painting or staining your tool organizer will not only make it look great but also protect the wood from damage caused by humidity or wear and tear.
- If you choose to paint, use a paintbrush to apply an even coat.
- For a more natural look, use a wood stain or clear finish to highlight the grain of the wood.
Allow the paint or stain to dry completely before proceeding.
Step 6: Install the Organizer in Your Workshop
Once the tool organizer is assembled and dry, it’s time to install it in your workshop. You can mount it on the wall, place it on a workbench, or even hang it on a pegboard, depending on the design you’ve chosen.
- If you’re installing it on the wall, use wall anchors or screws to ensure it’s secure.
- If placing it on a workbench or countertop, simply slide it into place.
Tip: Consider adding hooks or additional pegs to the sides for extra storage of smaller items like wrenches or tape measures.
Customizing Your Tool Organizer
One of the best parts of building your tool organizer is that you can customize it to suit your specific needs. Here are a few ideas to make your organizer truly yours:
- Adjust the number of shelves: Add more shelves if you have a lot of small tools, or fewer if you’re storing larger items.
- Use different materials: While we focused on wood, you can incorporate metal or plastic for added durability or aesthetic appeal.
- Add hooks or magnetic strips: Perfect for holding items like scissors, hammers, or screwdrivers.
- Label the compartments: For easier tool retrieval, label each section with a simple tag or stencil.
Conclusion
Creating a tool organizer is a fun and rewarding project that helps keep your workshop neat and functional.
With the right materials and a few simple tools, even beginners can craft a practical organizer tailored to their space.
Whether you’re storing hand tools, power tools, or accessories, this DIY project will ensure that everything has a proper place.
Plus, with the customization tips shared, you can build a tool organizer that fits your exact needs.
Don’t forget to share your progress and finished project with us. Happy building!