In today’s world, where sustainability is more important than ever, learning how to make a shelf using recycled materials is a fantastic way to embrace eco-friendly practices while adding a touch of creativity to your home.
This step-by-step guide will show you how to craft a simple yet functional shelf using recycled boards, all while staying budget-conscious and environmentally aware.
Why Choose Recycled Boards?
Using recycled boards for your projects not only reduces waste but also gives your furniture a unique character. Here’s why it’s a great choice:
- Eco-friendly: Reduces the demand for new wood and keeps old boards out of landfills.
- Cost-effective: Recycled boards are often cheaper or even free.
- Aesthetic appeal: Weathered boards have a rustic charm that’s hard to replicate.
Materials and Tools You Will Need
Before diving into the project, gather the necessary materials and tools:
Materials:
- Recycled wooden boards (size depending on the desired shelf dimensions)
- Sandpaper (medium and fine grit)
- Wood screws or nails
- Wood glue (optional for extra stability)
- Paint, stain, or wood varnish (optional for finishing)
Tools:
- Saw (hand saw or electric)
- Drill with screwdriver bits
- Measuring tape
- Pencil
- Level
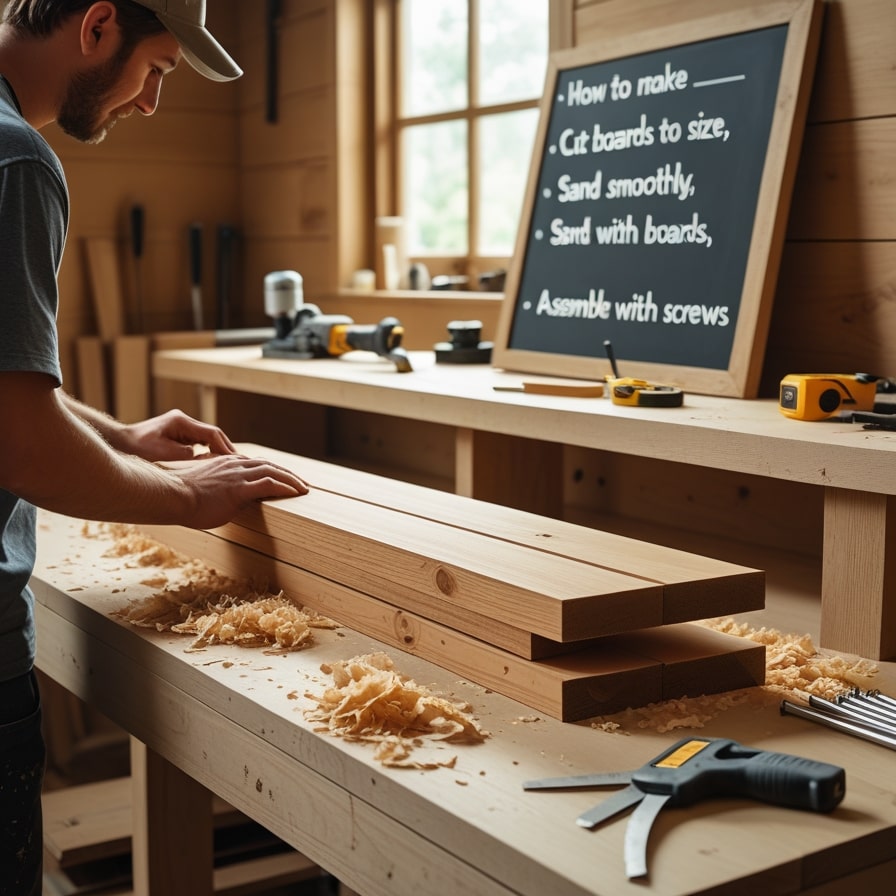
Step-by-Step Guide to Make Your Shelf
Step 1: Select and Prepare the Boards
The first step is choosing the right recycled boards for your shelf. Look for boards that are:
- Structurally sound with minimal warping.
- Free from rot, mold, or major cracks.
Once you have your boards, use sandpaper to smooth out rough edges and surfaces. This step ensures your shelf will be safe to handle and have a polished appearance.
Step 2: Measure and Cut the Boards
Determine the desired size of your shelf, and use a measuring tape and pencil to mark the cuts on your boards. Keep the following tips in mind:
- Use a level to ensure straight lines for cutting.
- If creating multiple shelves, make sure all boards are the same length for uniformity.
Cut the boards carefully using a saw. Always wear safety equipment, such as goggles and gloves, during this process.
Step 3: Assemble the Shelf
Now it’s time to put everything together:
- Lay the boards flat and align them as needed for the design.
- Use wood screws or nails to secure the boards together. Drill pilot holes to prevent splitting.
- If desired, apply wood glue to the edges for added stability before screwing or nailing.
- Check for alignment and adjust as necessary using the level.
Step 4: Finish the Shelf
To enhance the durability and appearance of your shelf, consider applying a finish:
- Paint or stain for a personalized touch.
- Varnish to protect the wood and give it a polished look.
- Leave the boards natural for a rustic vibe.
Allow the finish to dry completely before moving on to installation.
Step 5: Install the Shelf
Decide where you want to place your new shelf. Follow these steps:
- Use a level to mark even points on the wall for installation.
- Drill holes and secure brackets or mountings to the wall.
- Place the shelf on the brackets and secure it with screws if needed.
Tips for Success
- Plan ahead: Sketch out your design before starting.
- Be resourceful: Look for recycled boards at thrift stores, construction sites, or even old furniture.
- Safety first: Always use protective gear when handling tools and wood.
Benefits of a DIY Shelf
Creating your own shelf has numerous advantages:
- Customization: Tailor the size and design to fit your space perfectly.
- Sustainability: Reduce your environmental footprint by repurposing materials.
- Satisfaction: Enjoy the pride of building something functional and beautiful with your own hands.
Final Thoughts
Learning how to make a shelf using recycled boards is a rewarding project that combines creativity, functionality, and environmental consciousness.
By following these steps, you can create a unique piece of furniture that not only serves a purpose but also tells a story.
So, grab those tools and recycled boards, and start crafting your sustainable masterpiece today!